Agencies need Google Tag Manager (GTM) to set up conversion tracking, pixels and events. You add their Google account to your container with a permission; you stay the owner and can remove them any time.
Steps
- Open Google Tag Manager and go to Admin for your account.
- Open User Management for the container (not the account, unless they should see every container).
- Click +, then Add users.
- Enter the email your agency gave you.
- Leave the account permission at User, and set the container permission (see below).
- Click Invite.
Which permission
| Permission | What the agency can do |
|---|---|
| Read | see tags, triggers and variables |
| Edit | also create and change them in workspaces |
| Approve | also approve versions for publishing |
| Publish | also publish changes to your live site |
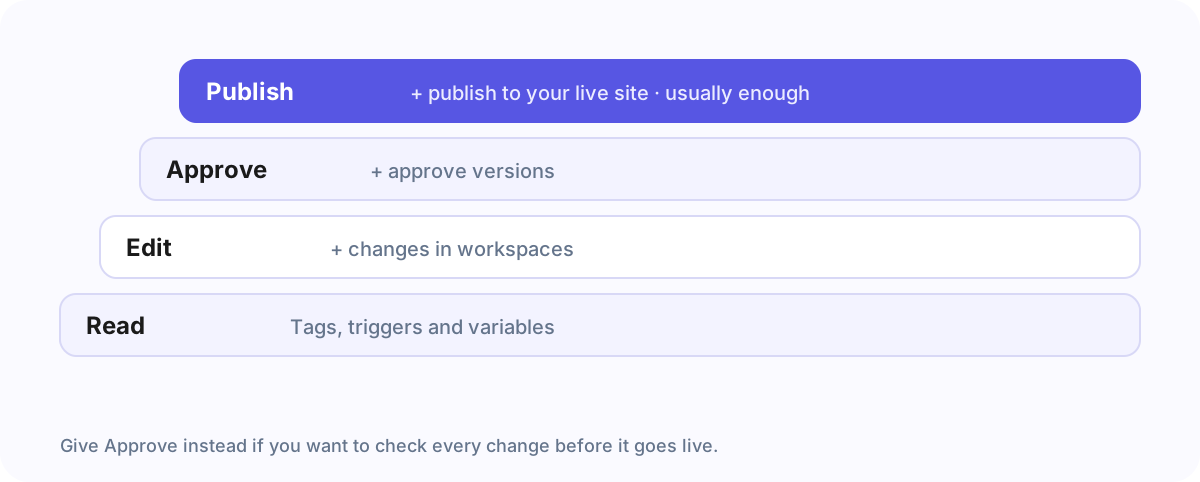
Most agencies ask for Publish, because tracking only works once it is live. If you want to check every change first, give Approve and publish yourself.
Keep other containers private
Access granted on the account level shows the agency every container in it. Granting it on one container keeps the others private, for example your shop’s container if the agency only runs your blog.
Frequently asked questions
What is the difference between Approve and Publish?
Approve lets the agency mark a version as ready; Publish lets it make the version live on your site.
Does the agency see my other containers?
Only if you grant access on the account level. Per container, the others stay private.
The quicker way
With an Agency Client Onboarding link you sign in with Google on Google’s own page, tick the container and confirm. The agency’s address and permission are filled in, and the permissions of other users and containers are left as they are.